miniDSP Room Correction
HouseCurve is an iOS application for tuning audio systems. It can be used for tuning tasks like creating room correction filters, subwoofer time alignment, level matching and choosing crossovers. Download here.
In this application note, we will demonstrate room correction using HouseCurve and a miniDSP processor.
For an introduction to room correction please read the overview. To learn more about HouseCurve please see the usage documentation.
What you need
- A miniDSP processor connected to your audio system.
- miniDSP Device Console software to configure processor.
- An iPhone or iPad with HouseCurve installed on it.
HouseCurve achieves reasonable measurement accuracy with the built in iPhone or iPad microphones (cases may interfere with microphone).
For additional accuracy, a calibrated measurement microphone can be used, such as the UMIK-1 or UMIK-2 (requires a Lightning to USB adapter).
The procedures below may not exactly apply to your system. The miniDSP processors are very flexible and can be set up in many different ways. Fortunately, HouseCurve was designed for rapid experimentation. Try the steps below as written and then adjust as needed to suit your own particular situation.
For best results, ensure the audio system is set up correctly before applying room correction.
1. Get Connected
HouseCurve measures your audio system by listening to it play a sine sweep. Connect your iPhone or iPad to your audio system using AirPlay, Bluetooth or the headphone jack (using an appropriate cable).
If direct connection isn’t possible, the sine sweep file can be transferred to the audio system and played manually while HouseCurve listens. For more information see connecting.
2. Collect Measurements
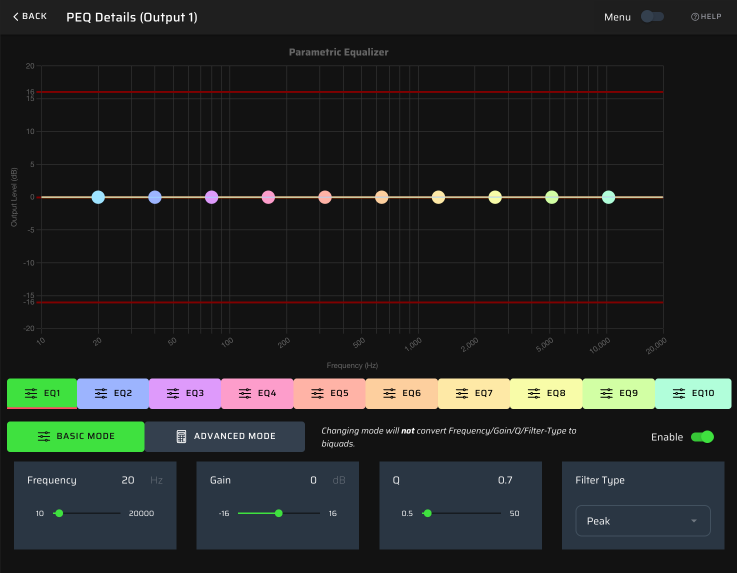
Using the miniDSP Device Console software, ensure that any equalization is disabled.
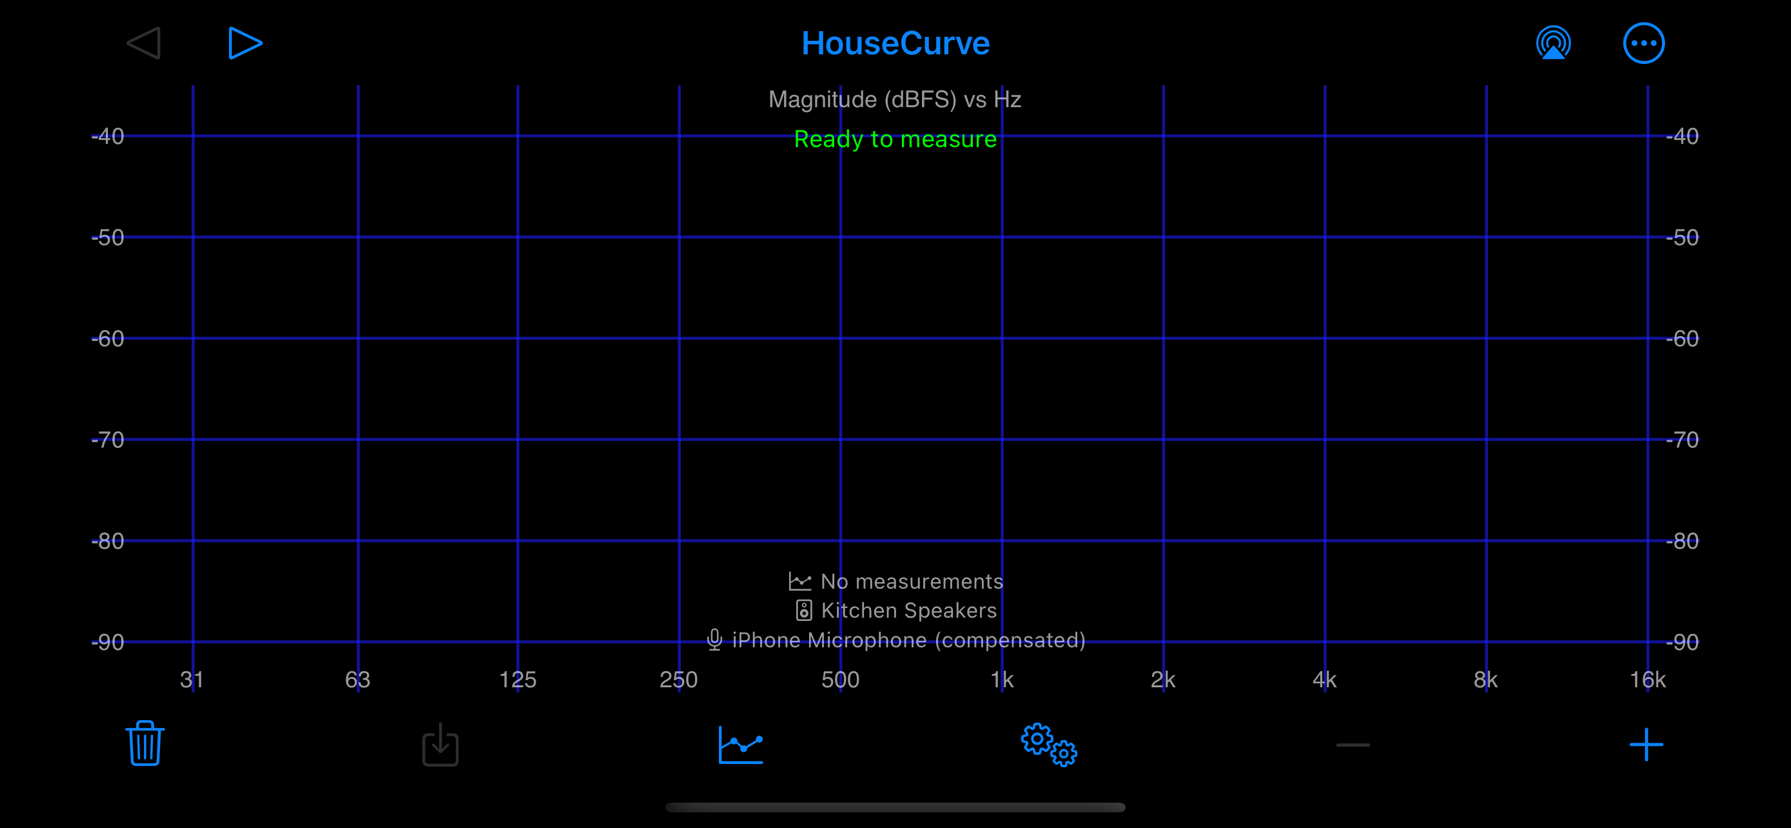
Launch HouseCurve on your iPhone/iPad. Tap  to clear previous measurements.
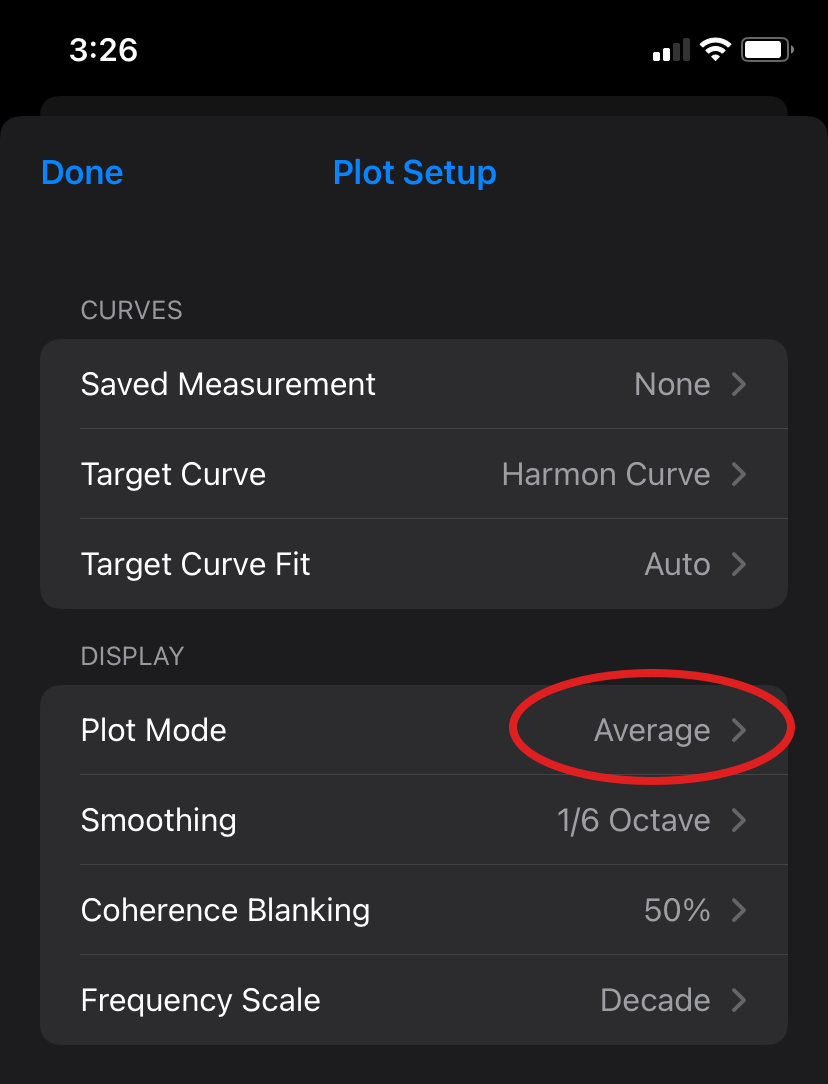
Tap  to display the Plot Setup screen. Ensure that the plot mode is “average”.
Use HouseCurve to measure your listening area. Ensure that the microphone is pointed in the direction of the speakers. Measure at a normal listening volume.
HouseCurve will automatically average measurements as they are collected. To get a realistic measurement of your listening area, it is important to average measurements from several locations. For a desk (near field), try measuring from 2-3 locations. For a living room, try 3-5 locations.
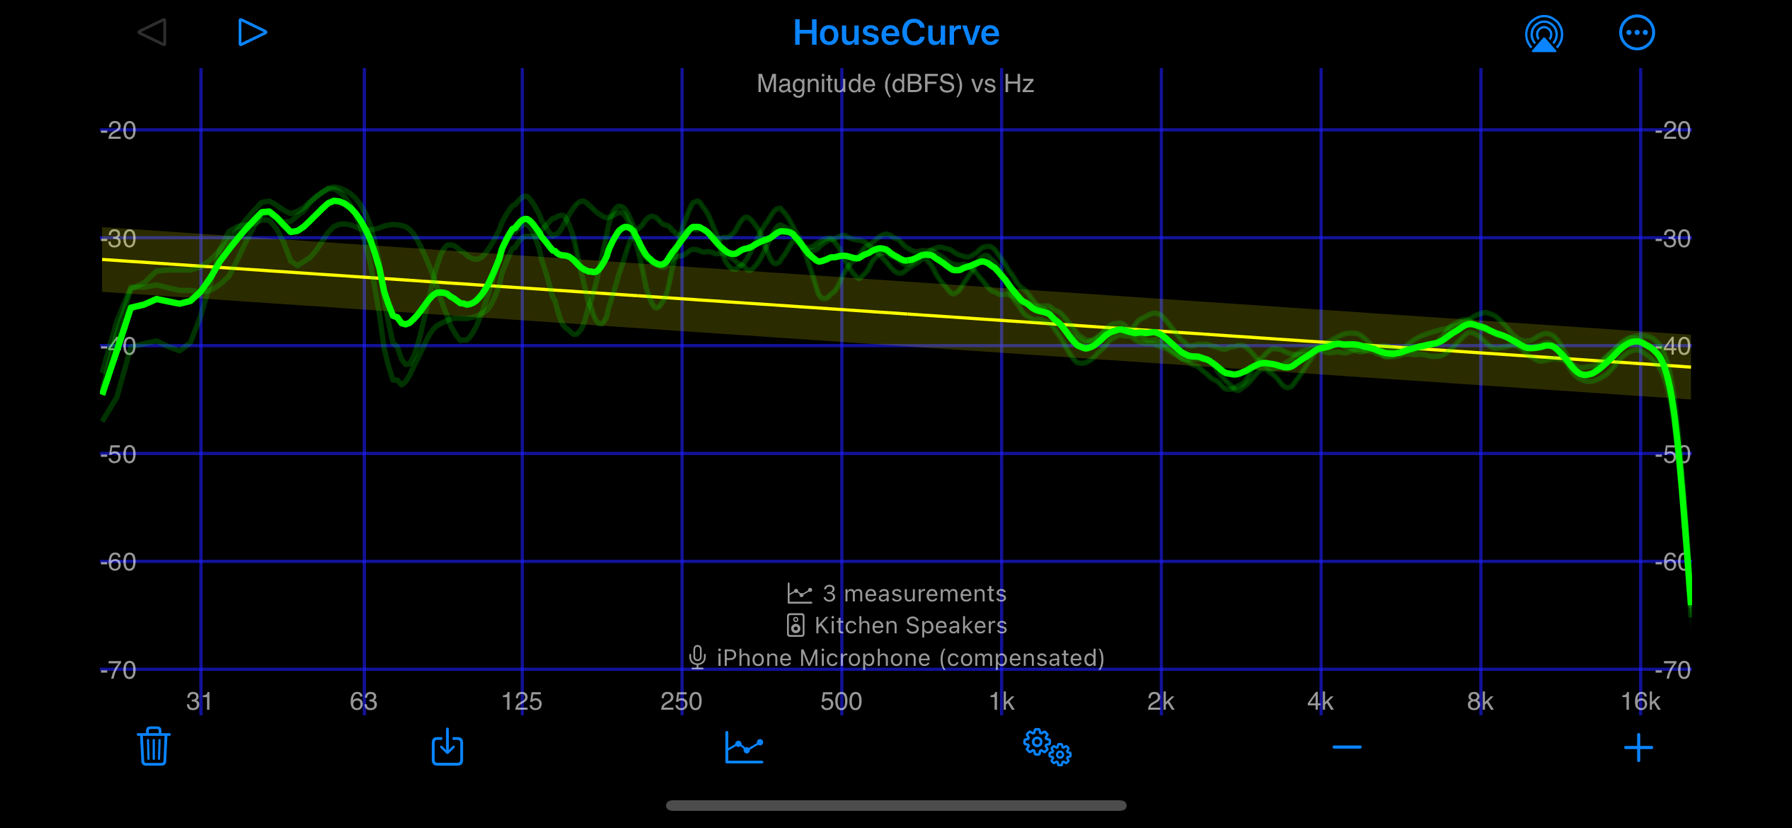
When you are satisfied with the average measurement, save it by tapping  . This measurement will be used to generate the room correction filters.
3. Generate Filters
Go to the main menu and choose the Equalize tool.
The Equalize tool generates PEQ (biquad) filters to correct a saved measurement to a target curve. The process is instantaneous, so the display automatically updates to reflect any setting change (target curve, saved measurement, filter settings, etc).
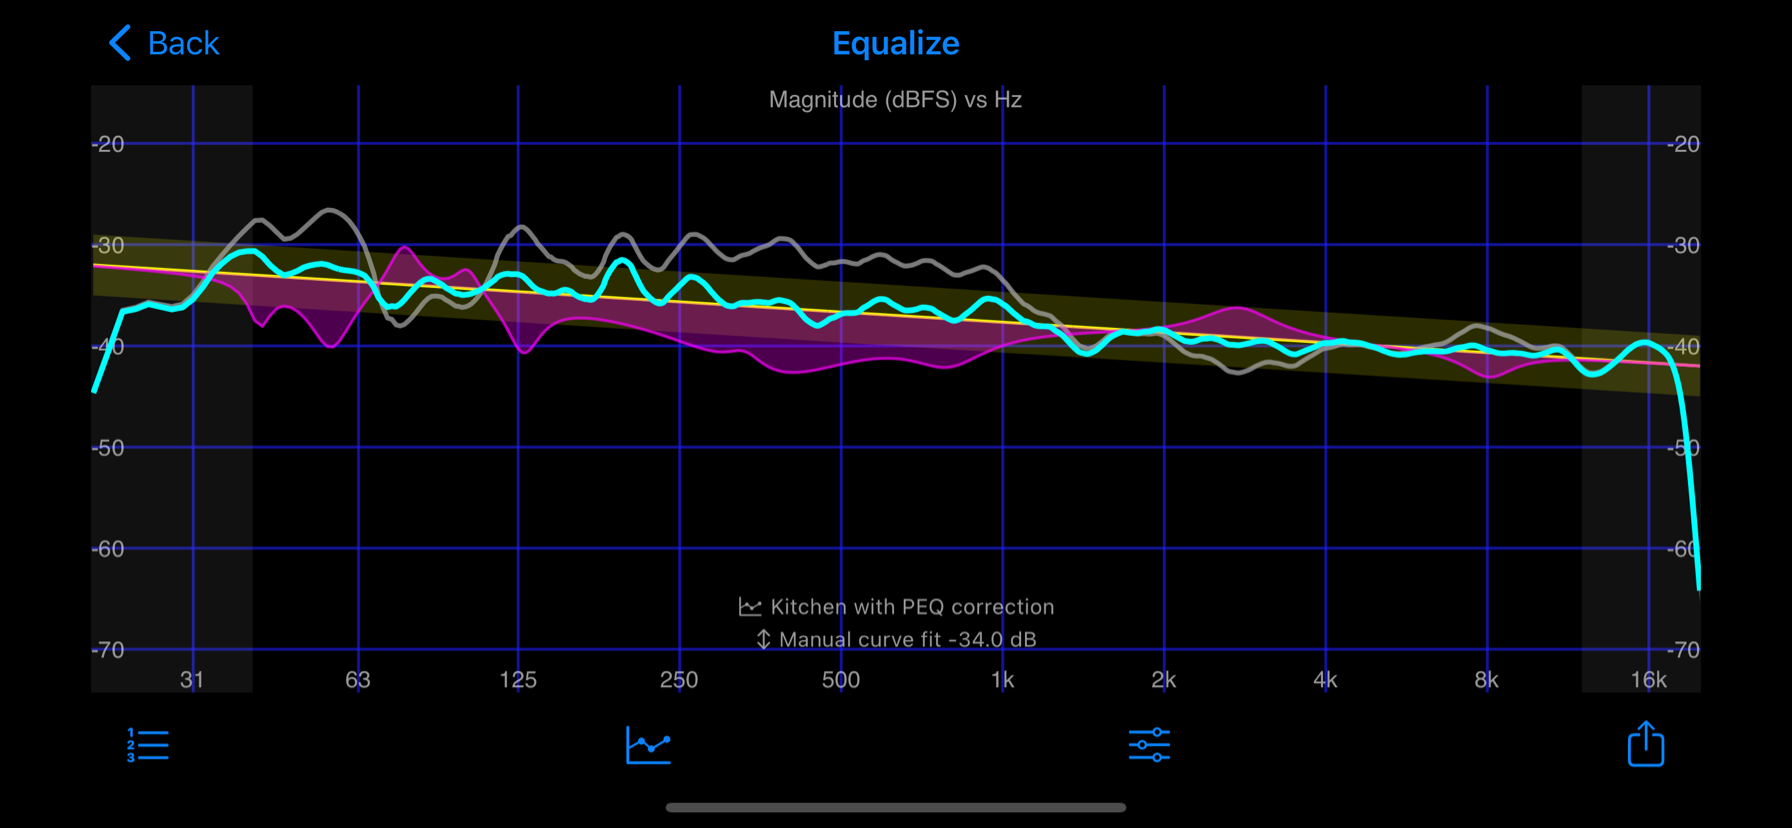
HouseCurve allocates filters to regions with the largest deviation from the target curve, preferring lower frequencies and ignoring areas with low coherence (SNR). You can adjust the target curve and coherence blanking threshold by tapping  . For more information, see gain management.
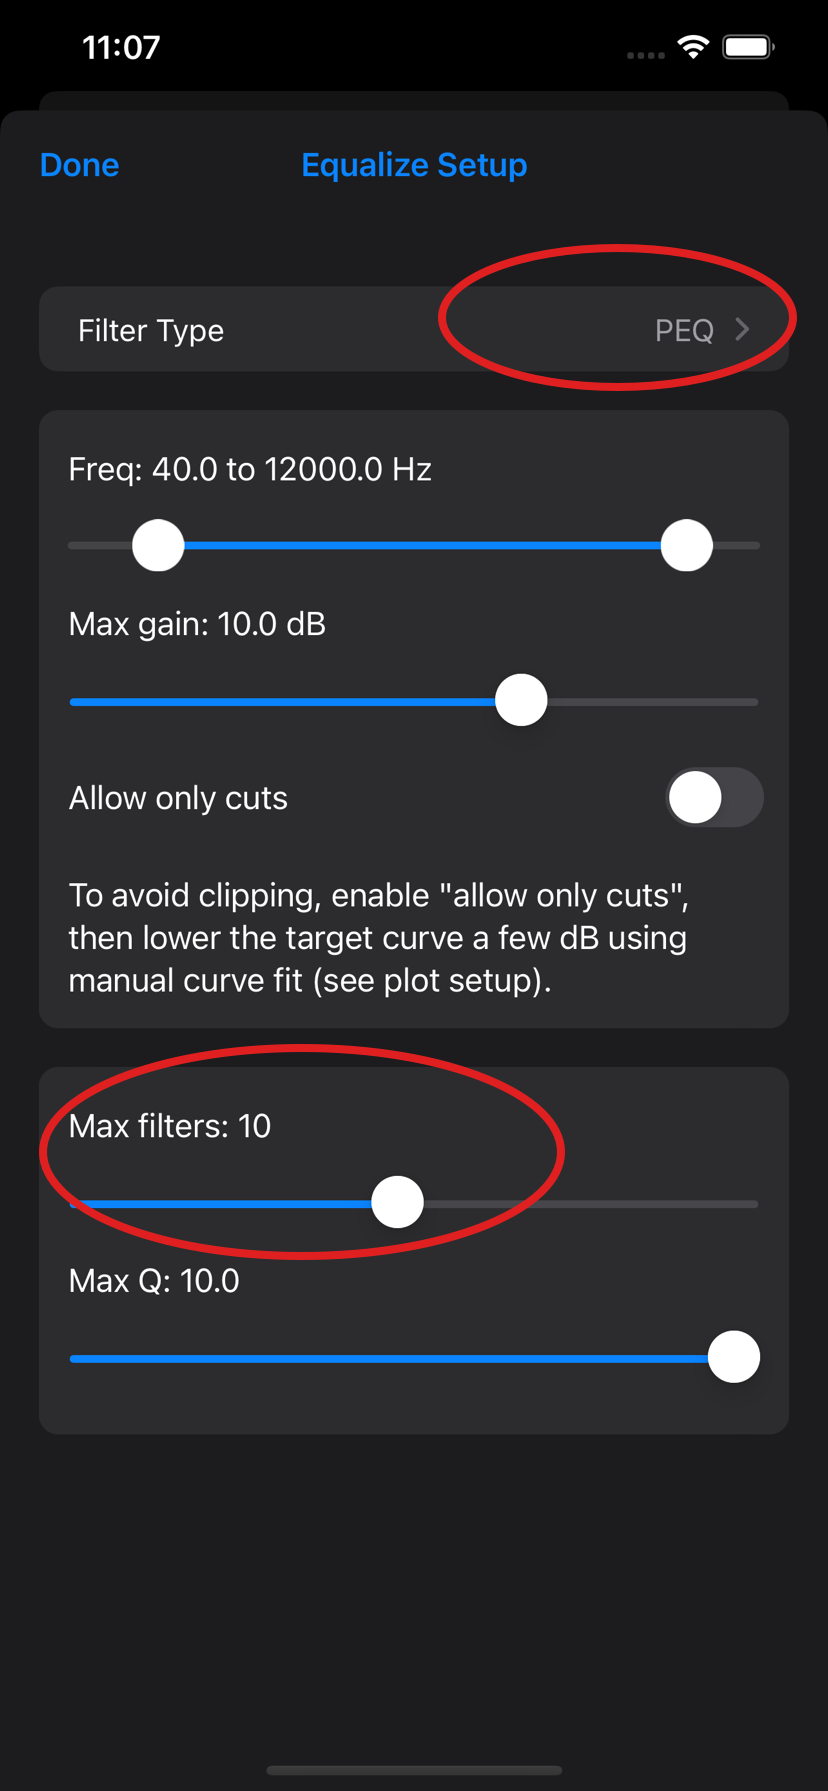
Tap  to display the Equalize Setup screen. Ensure filter type is PEQ and set maximum filters to the number supported by your miniDSP processor.
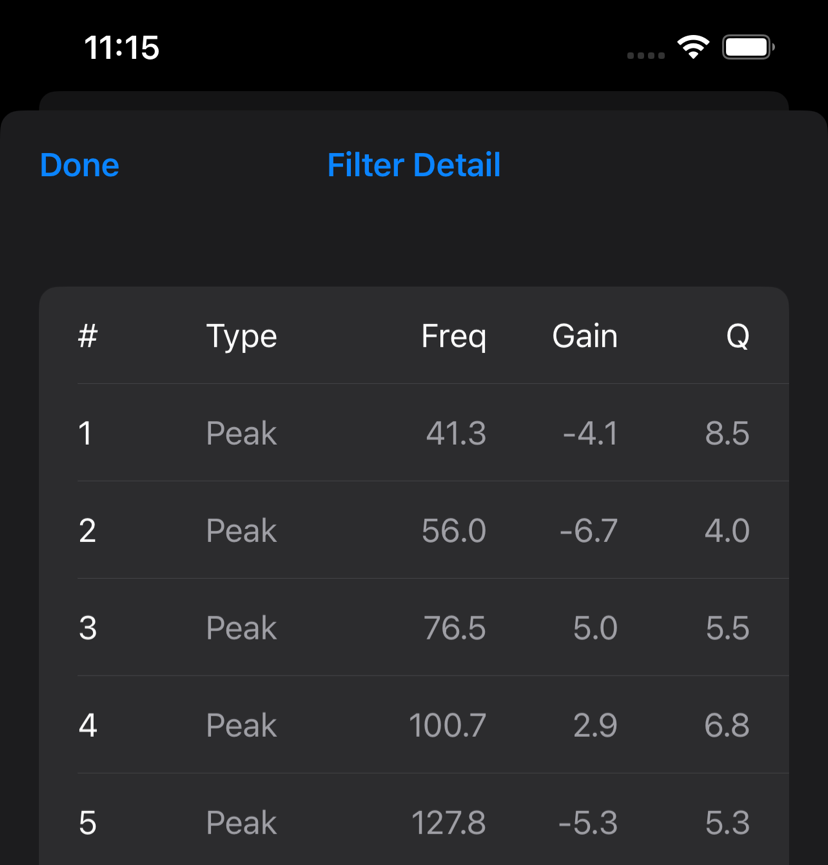
Tap  to display the individual filters generated by HouseCurve.
4. Export Filters
Filters can be exported to a file by tapping  . Ensure that the format is set to “biquad coefficients” and the sample rate is appropriate for your miniDSP processor (ex: 2x4 HD uses 96000 Hz and the DDRC-24 uses 48000 Hz).
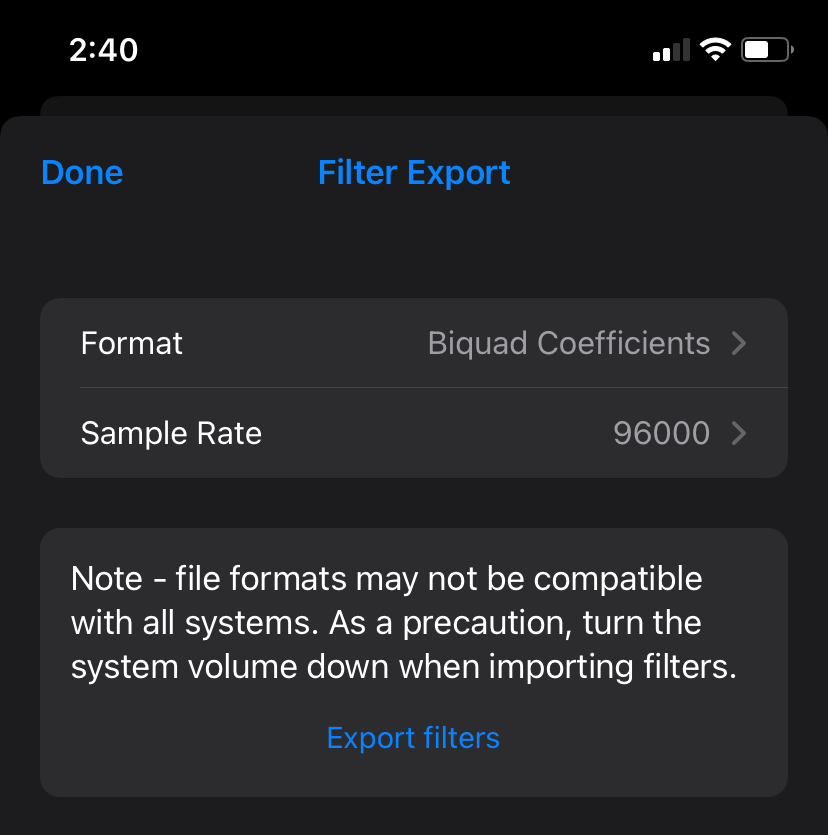
Tap Export filters, select a location for the filter file and then tap save. Choose a location that the miniDSP Device Console software can access (ex: iCloud Drive). Alternatively, you can choose a location on the iPhone/iPad and then transfer the file using email, AirDrop, iMessage, etc.
5. Load Filters
Load the filters into your miniDSP processor using the Device Console software. Open the PEQ block that you want to put the filters in. Ensure the menu switch is turned “on”, then choose LOAD BIQUADS FILE. Select the filter file and click Open. The Device Console will display the correction filters.
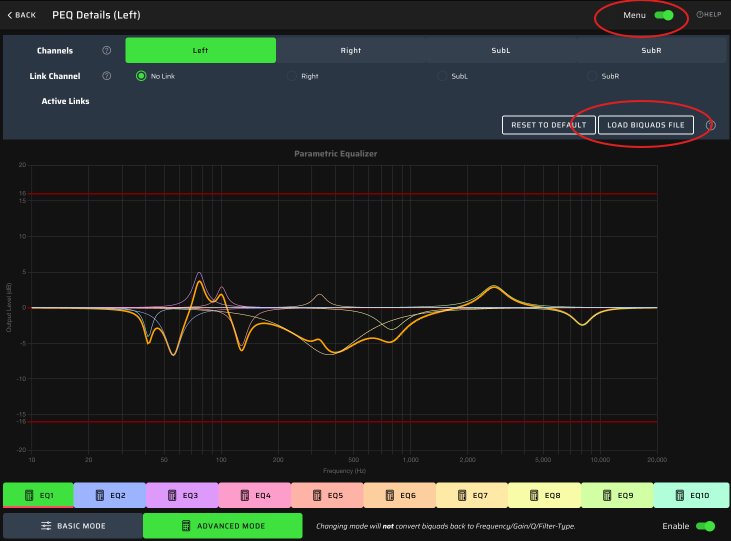
Double check that the filter peaks are in the correct location by comparing to HouseCurve’s Equalize tool. If they appear slightly shifted, it’s likely the filters were created for the wrong sample rate. Repeat the export process with the correct sample rate.
Wrapping Up
With the filters loaded, you can repeat your original measurements to confirm that your system now matches the target curve. The average should be reasonably close to the response predicted by HouseCurve. Happy listening!